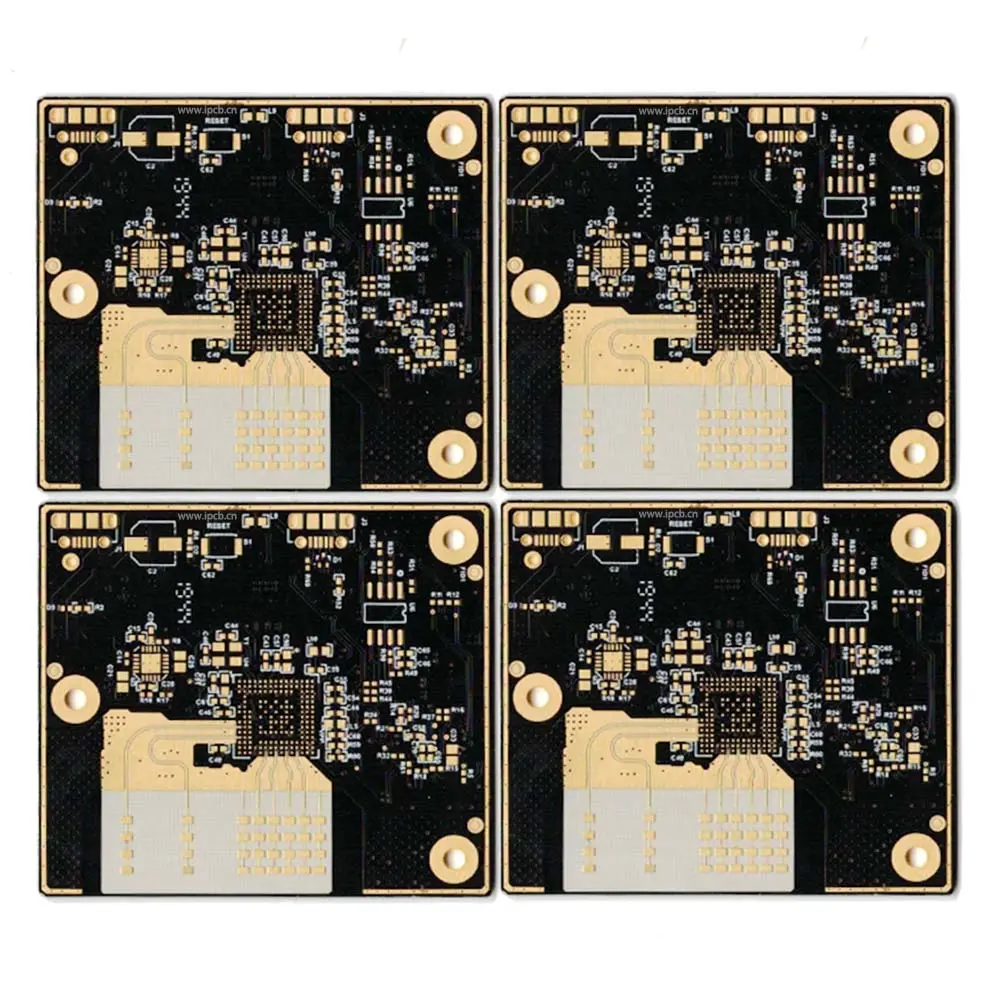
 PCB
PCB FPC
FPC Rigid-Flex
 FR-4
FR-4 HDI PCB
 Rogers High-Frequency Board
 PTFE Teflon High-Frequency Board
 Aluminum
 Copper Core
 PCB Assembly
 LED light PCBA
 Memory PCBA
 Power Supply PCBA
 New Energey PCBA
 Communication PCBA
 Industrial Control PCBA
 Medical Equipment PCBA
 Testing Service
 PCBA Testing Service
 Certification Application
 RoHS Certification Application
 REACH Certification Application
 CE Certification Application
 FCC Certification Application
 CQC Certification Application
 UL Certification Application
 Transformers, Inductors
 High Frequency Transformers
 Low Frequency Transformers
 High Power Transformers
 Conversion Transformers
 Sealed Transformers
 Ring Transformers
 Inductors
 Wires,Cables Customized
 Network Cables
 Power Cords
 Antenna Cables
 Coaxial Cables
 Net Position Indicator
 Solar AIS net position indicator
 Capacitors
 Connectors
 Diodes
 Embedded Processors & Controllers
 Digital Signal Processors (DSP/DSC)
 Microcontrollers (MCU/MPU/SOC)
 Programmable Logic Device(CPLD/FPGA)
 Communication Modules/IoT
 Resistors
 Through Hole Resistors
 Resistor Networks, Arrays
 Potentiometers,Variable Resistors
 Aluminum Case,Porcelain Tube Resistance
 Current Sense Resistors,Shunt Resistors
 Switches
 Transistors
 Power Modules
 Isolated Power Modules
 AC-DC Power Modules
 DC-AC Module(Inverter)
 RF and Wireless
Adjustment Strategy for Lamination Pressure Profile in High-Frequency Hybrid PCB
High-frequency hybrid PCBs combine the cost-effectiveness of FR-4 with the high-frequency peRFormance of Rogers 4350B. However, their lamination process faces a core challenge: signifICant differences in the coefficient of thermal expansion and curing shrinkage rates between the two materials. Failure to adjust the pressure profile can easily lead to warpage, delamination, and insufficient resin fill. This article details how to adjust the lamination pressure profile to compensate for the differing shrinkage rates of these substrates.
I. Analysis of Material Property Differences
-
Coefficient of Thermal Expansion:
-
FR-4: CTE is approximately 14-18 ppm/°C (Z-axis).
-
Rogers 4350B: CTE is approximately 11-13 ppm/°C (Z-axis).
-
Impact: During heating, FR-4 expands more than 4350B, generating internal stress if constrained.
-
-
Curing Characteristics and Shrinkage Rate:
-
FR-4: Uses multiple prepreg layers with high resin flow and relatively high curing shrinkage.
-
Rogers 4350B: Its prepreg has lower flow characteristics and excellent dimensional stability, with a curing shrinkage rate much lower than FR-4.
-
Impact: During cooling, FR-4 shrinks more than 4350B. If uncompensated, this causes warping towards the FR-4 side.
-
II. Core Adjustment Strategy for the Lamination Pressure Profile
The goal of adjusting the pressure profile is to apply different pressures at different temperature stages to coordinate the flow and shrinkage of the two materials.
-
Stage 1: Initial Heating and Vacuum Application
-
Temperature Range: Room Temperature → Below resin gel point (~100-120°C).
-
Pressure Strategy: Apply low contact pressure (e.g., 5-15 psi) and maintain vacuum throughout.
-
Purpose:
-
Remove air between layers to prevent voids.
-
Allow resin to flow freely and initially impregnate with minimal constraint, avoiding premature excessive squeeze of FR-4 resin which causes pressure imbalance.
-
Reduce thermal shock to the Rogers material.
-
-
-
Stage 2: Resin Flow and Fill
-
Temperature Range: Resin begins melting → Start of curing reaction (~120-150°C).
-
Pressure Strategy: Ramp pressure stepwise or gradually to a medium pressure (e.g., 100-200 psi).
-
Purpose:
-
Provide sufficient pressure for the resin to adequately fill pattern gaps and ensure good bonding at the FR-4/Rogers interface.
-
Avoid instant high pressure to prevent excessive resin squeeze-out leading to resin deficiency in Rogers areas or pronounced glass cloth pattern.
-
-
-
Stage 3: Gelation and Curing
-
Temperature Range: Reach curing temperature (e.g., 170-185°C) and enter the dwell stage.
-
Pressure Strategy: Increase to full pressure (e.g., 250-300 psi) just as the resin gels but before full cure.
-
Purpose:
-
While the materials are still somewhat plastic, use high pressure to suppress the FR-4's tendency to shrink.
-
The high pressure "mechanically locks" the materials together during cooling, promoting co-shrinkage and compensating for FR-4's higher shrinkage rate, thereby reducing warpage and internal stress.
-
-
-
Stage 4: Cooling and Pressure Maintenance
-
Temperature Range: After cure completion → Below Glass Transition Temperature.
-
Pressure Strategy: Maintain full pressure until temperature cools below 80°C.
-
Purpose: This is the primary stage for shrinkage stress generation. Continuous pressure effectively constrains deformation, ensuring the board remains flat and dimensionally stable during this critical phase.
-
III. Key Process Parameters and Auxiliary Measures
-
Heating Rate Control:
-
Use a slow heating rate (e.g., 1.5-2.5°C/min) to allow uniform heating of both FR-4 and Rogers materials, reducing transient stress and interlayer slip caused by different thermal inertia.
-
-
Use of Buffer Materials:
-
Add elastic buffer layers between the press plates and the steel separators. These evenly distribute pressure and absorb some micro-strain induced by CTE differences.
-
-
Symmetrical Stack-up Design:
-
The PCB stack-up must ensure the distribution of FR-4 and Rogers is symmetrical about the central layer. For example, use a symmetrical structure like "Rogers-FR-4-Core-FR-4-Rogers" to balance stress.
-
-
First Article Verification and Adjustment:
-
After producing the first board, measure its warpage using a Thermal Mechanical Analyzer and check interlayer bond quality via C-SAM. Fine-tune pressure transition points and values based on the results.
-
IV. Typical Pressure Profile Example
An optimized pressure profile for an FR-4/Rogers 4350B hybrid might be:
-
0-30 min (RT→120°C): Pressure 15 psi, maintain vacuum.
-
30-60 min (120°C→150°C): Pressure linearly increases to 150 psi.
-
60-90 min (150°C→180°C, Dwell): Ramp pressure to 280 psi near 150°C and hold.
-
After 90 min (Start cooling): Maintain 280 psi until temperature drops below 80°C, then release pressure.
V. Quality Verification
-
Warpage Measurement: Use a flatness scanner; require finished board warpage <0.5%.
-
Interface Analysis: Perform cross-sectioning; observe the FR-4/Rogers interface for no delamination or significant resin deficiency.
-
Reliability Testing: Conduct thermal stress tests and thermal cycle tests to confirm no delamination or cracking.